The new game controller window in ELITE XTS (9.0.1) supports an unlimited number of game controller devices. Below we will explain a little how to use this window.
Before we begin, it is always good to verify in Windows that your device is calibrated and working.
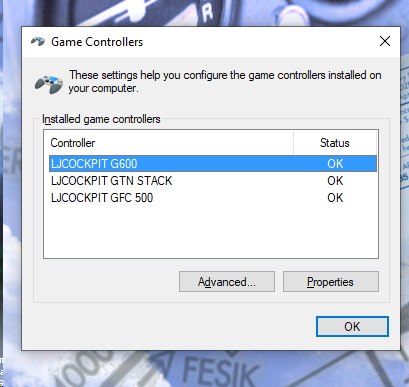
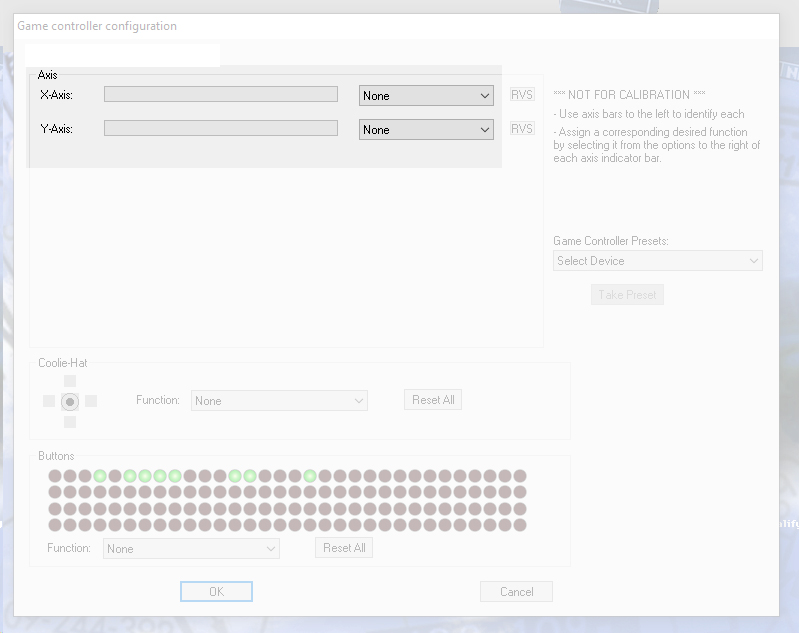
Once you pick the aircraft and area in ELITE XTS, the ELITE game controller window will show similar to the Windows game controller:

While these dialog boxes are similar, the one the right is the ONLY dialog box used for configuring your controls in ELITE. The procedure for configuration is as follows.
- Highlight the device you want to configure.
- Press select (under controls)
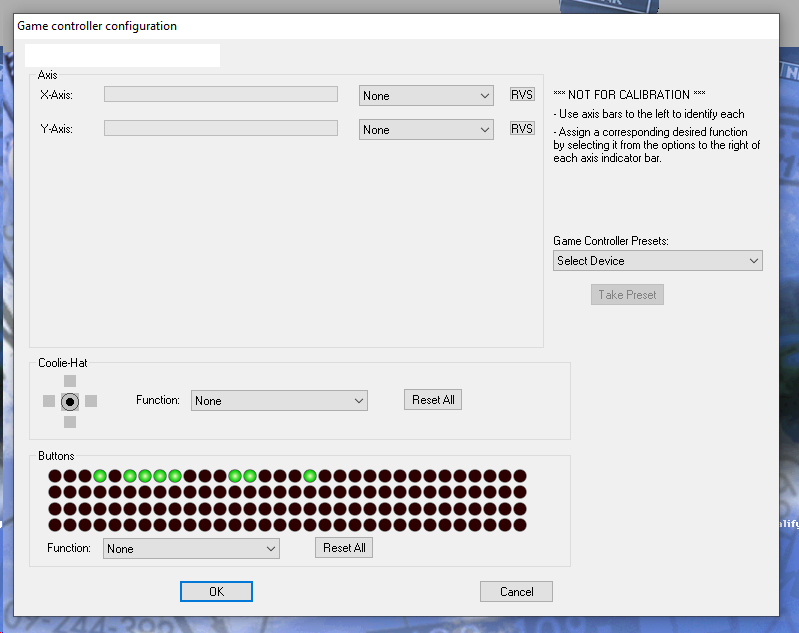
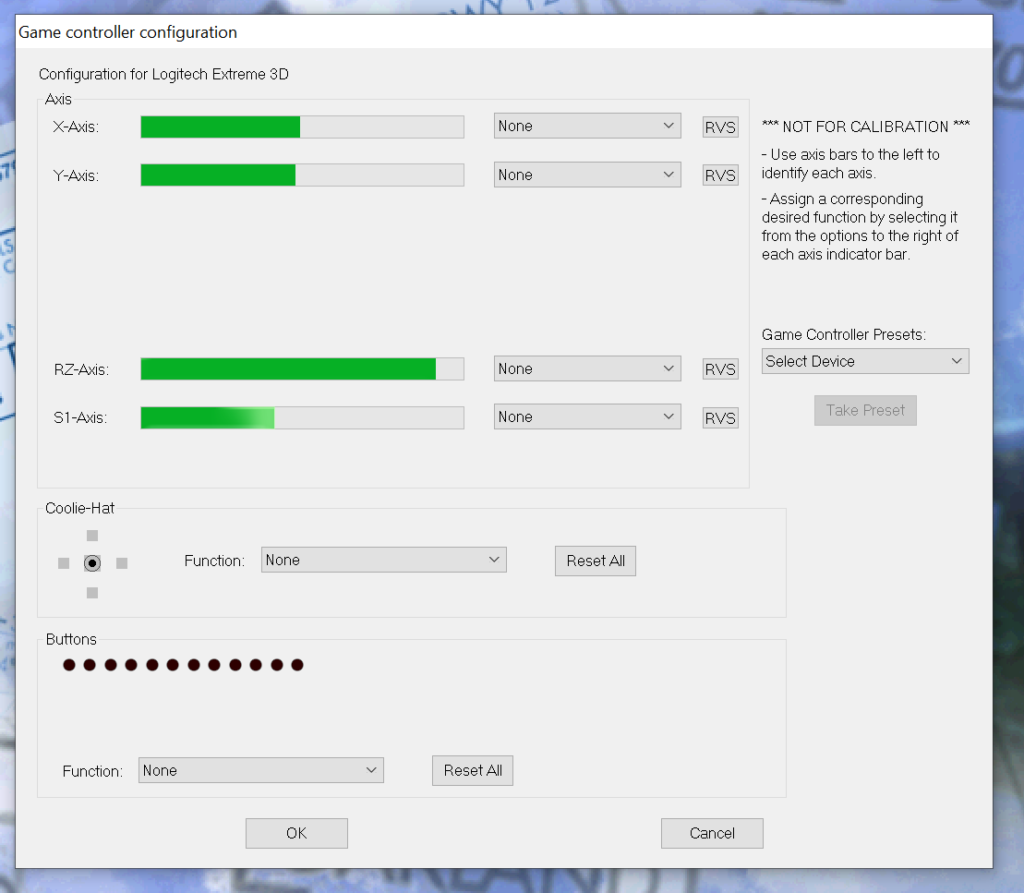
Once in this window, you have several sections for configuring the game controller (one hardware at a time).
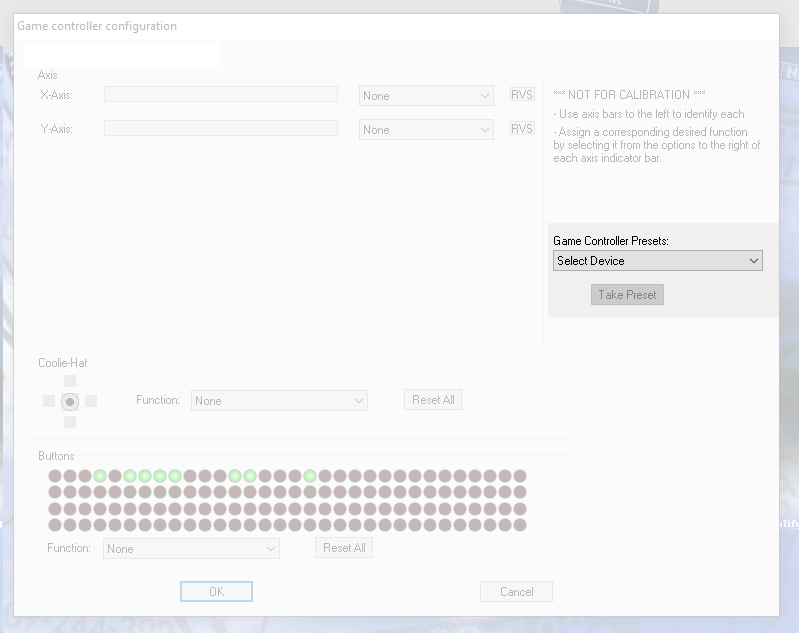
This section is a quick preset assignment, so you do not have to manually configure the controls.

This section is for programming your coolie hat. Simply press the button on your hardware you desire to program, then drop the function from the list. The button will turn from red to green when it’s programmed correctly.
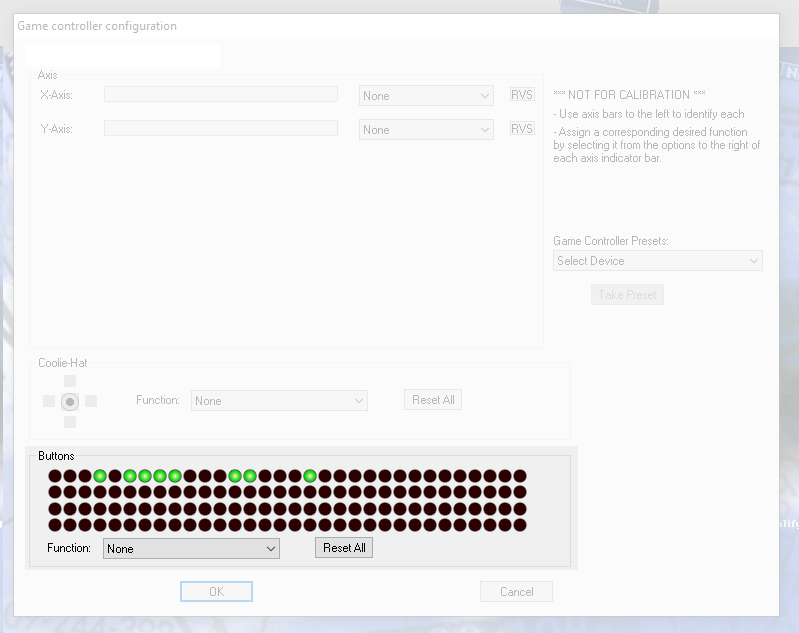
This section is for programming your buttons. Simply press the button on your hardware you desire to program, then drop the function from the list. The button will turn from red to green when it’s programmed correctly.
The “axis” selection, you would move the individual axis to verify this is the one you want to program, then drop down the proper “axis” you wish that function to do. (this is not a calibration tool, rather an assignment tool.)
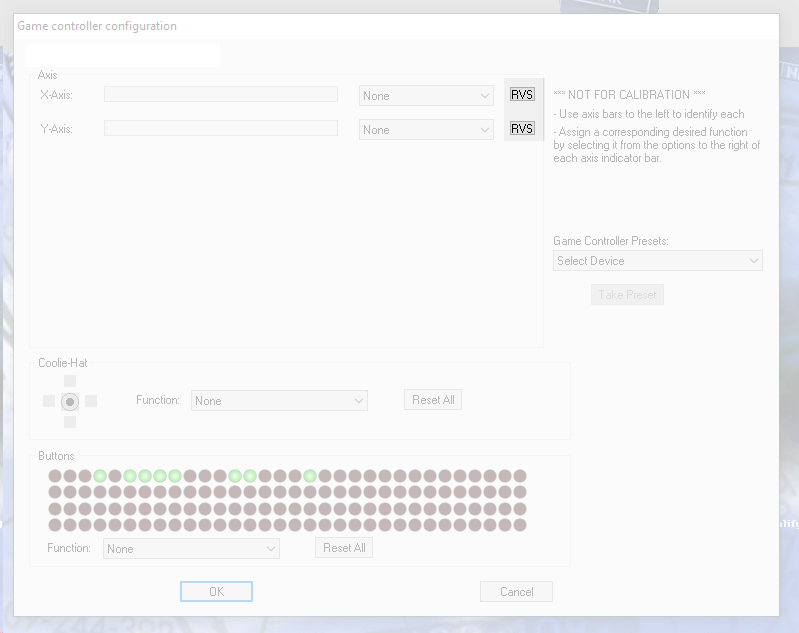
Sometime the “axis” might be reversed, if let’s say your “rudder” operates backward, simply press “RVS” and this will reverse the “axis” direction.
3. When you are done setting up the device, press ok.
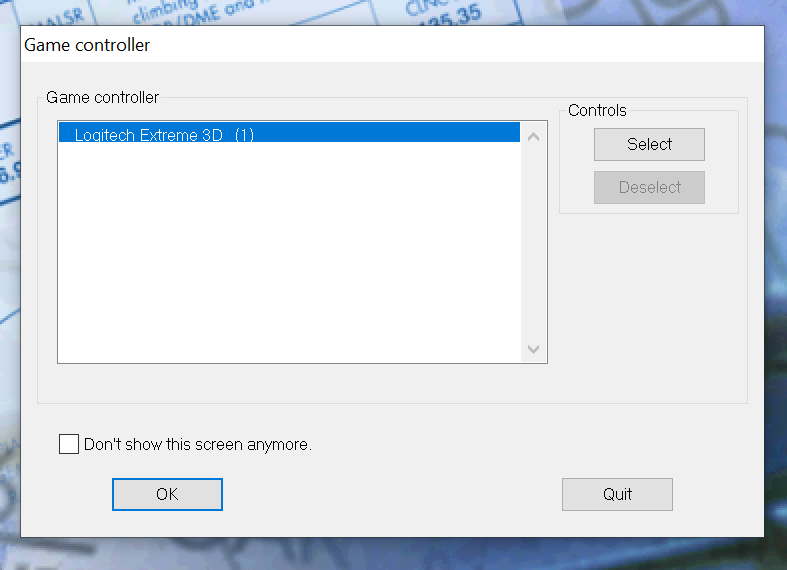
4. Check the “don’t show this screen anymore.”
5. Press ok, and you are done.